1. Installation
The installation is a three step process:
installation of a python environment
installation of a solver
installation of the HotmapsDispatchModel
1.1. Python environment
The easiest way to install a Python environment is through the conda package manager.
You have two conda download options:
Tip
Whether you use Anaconda or Miniconda, select the most recent version.
Anaconda or Miniconda?
Choose Anaconda if you:
Like to have 1,500 scientific packages automatically installed at once.
Have the time —a few minutes
And have the disk spaceand – 3 GB.
Do not want to individually install each of the packages you want to use.
Choose Miniconda if you:
Do not have time or disk space to install over 1,500 packages at once.
Want fast access to Python and the conda commands and you wish to sort out the other programs later.
Do not mind installing each of the packages you want to use individually.
more see here
Tip
I recommend installing Miniconda, since no packages are installed here and you have a clean base environment
1.1.1. Windows
The following steps are described for Anaconda Installation for Windows
Go to the Anaconda Webpage and choose the right version for your system software
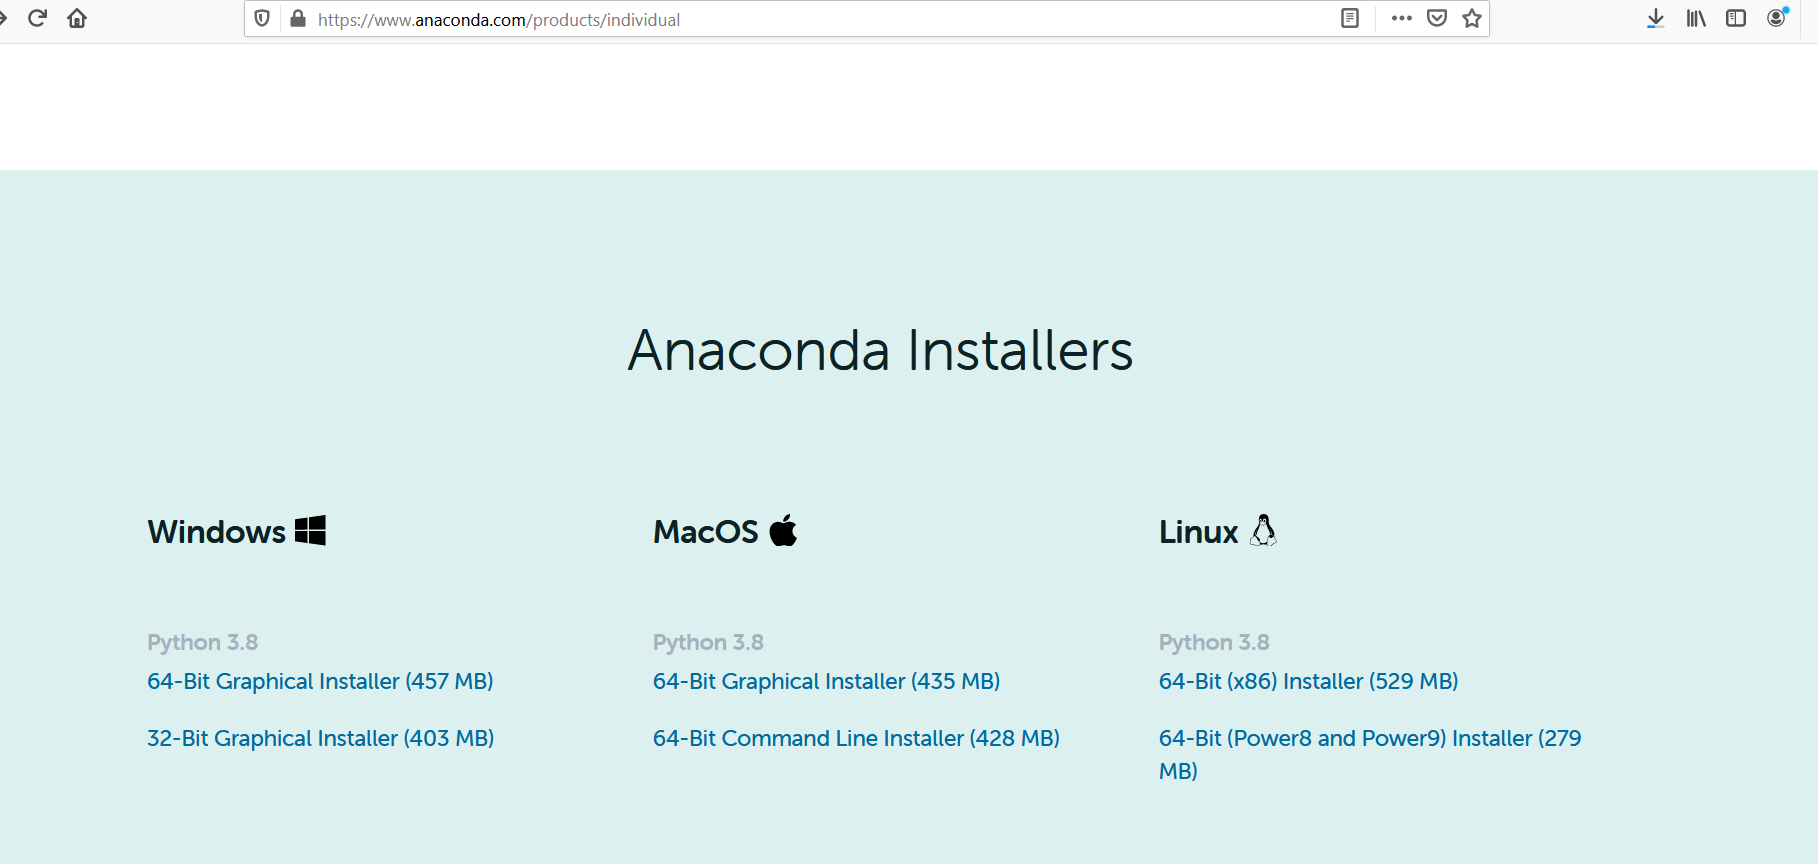
Fig. 1.1 Anaconda webpage
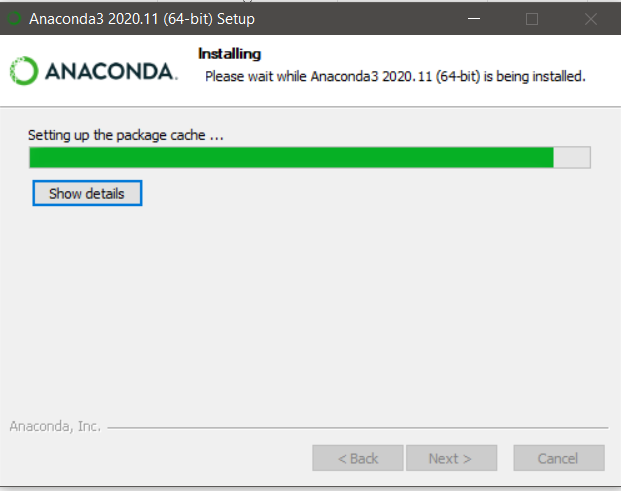
Fig. 1.2 Installation wizzard - part one
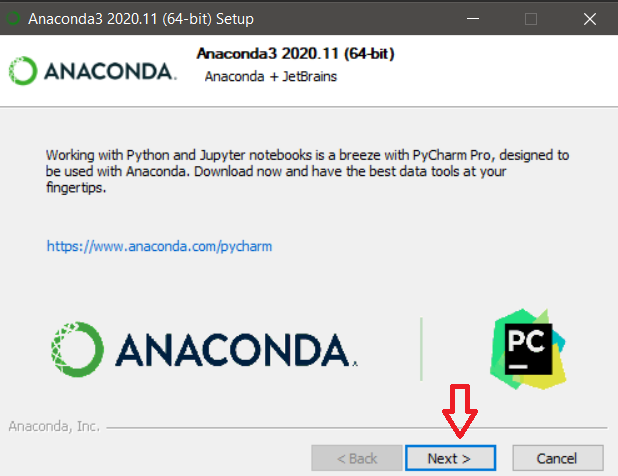
Fig. 1.3 Installation wizzard - part two
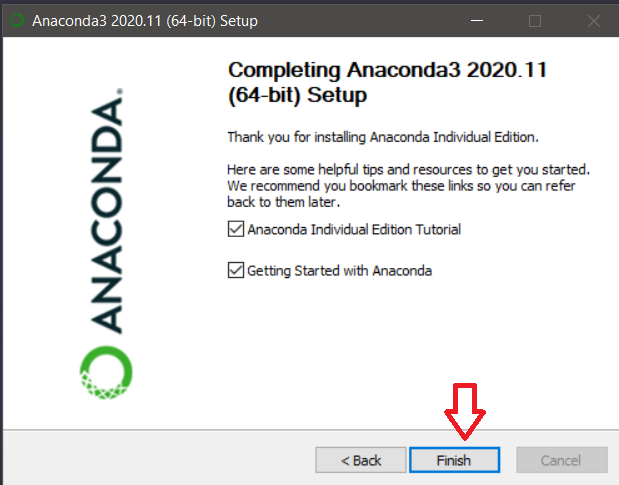
Fig. 1.4 Installation wizzard - finish
After installing Anaconda or Miniconda in Windwos you should have the Anaconda Prompt installed

Fig. 1.5 Anaconda Prompt after Installing Miniconda or Anaconda in Windows
1.1.2. Linux
The following steps are described for the Miniconda Installation for Linux
First log into your linux machine and start the terminal
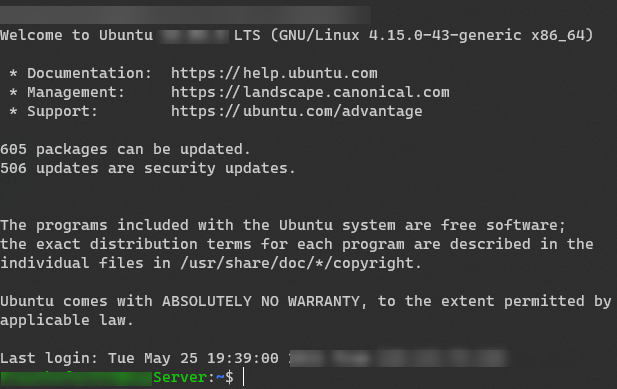
Fig. 1.6 Login Linux Terminal
Then go to the homepage of Miniconda and choose the latest version of miniconda with python3 according to your operating system settings and hardware specification.
If you are working without a graphical user interface, you can simply download the installer file using the
wgetcommand. All you have to do is copy the appropriate link and enter the following command with the link in your terminal (see yellow mark in Fig. 1.7) and press ‘enter’wget https://repo.anaconda.com/miniconda/Miniconda3-py39_4.9.2-Linux-x86_64.sh

Fig. 1.7 Download the installer file
Then execute the downloaded file with the
shcommand and press enter to continuesh Miniconda3-py39_4.9.2-Linux-x86_64.sh
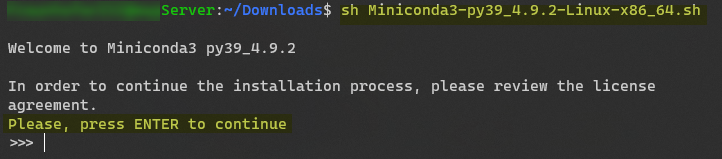
Fig. 1.8 License Agreement
Hold ‘enter’
type “yes” in the terminal
hit ‘enter’ again to confirm the installation location
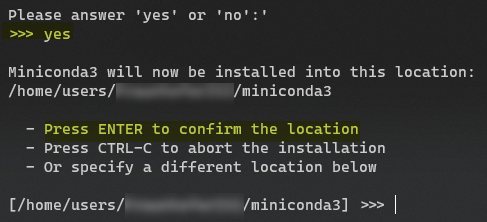
Fig. 1.9 Agree with license and confirm installation location
After Installation is done type “yes” in the terminal to initialize the miniconda with each login
close and reopen the current shell so the installation take effect
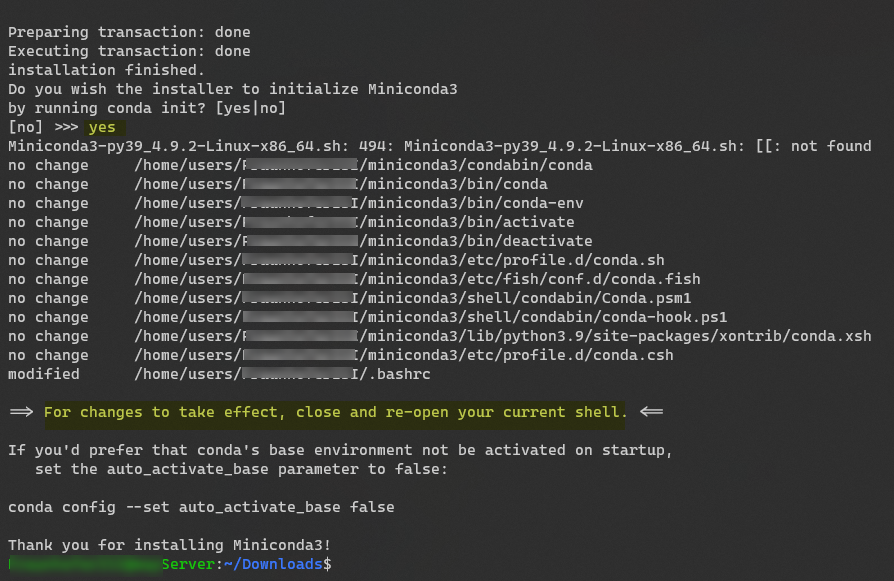
Fig. 1.10 Initialize conda environment with every login
If you login with a new session or open a new shell, you should see now
(base)on the left side of the input prompt (see red mark in Fig. 1.11)That means that conda was successfully installed
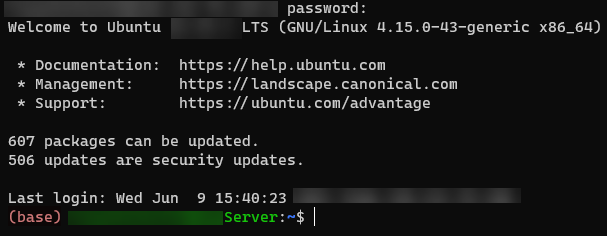
Fig. 1.11 Initialize conda environment with every login
1.2. Solver
To solve an optimisation problem, a solver is necessary. The HotmapsDispatch Model supports the GLPK and the GUROBI solver. Their installation is described in the following chapters.
1.2.1. GLPK
The GLPK solver is automatically part of the HotmapsDispatchModel installation (see Section 1.3).
To check if you have installed the GLPK solver you can enter the following commands in the Anaconda Prompt / Linux Terminal.
activate the environment
conda activate hotmapsDispatch
test if the GLPK Solve is installed
glpsol
If the output is as shown in Fig. 1.12 then the GLPK Solver is installed and can be used

Fig. 1.12 Test GLPK Installation
Warning
If you get a message that the glpsol command is not found or not installed, you have to install the GLPK solver manually.
But first try to install the GLPK solver via the conda package manager. Enter the following commands in your Anaconda Prompt/Linux terminal
conda acitvate hotmapsDispatch

conda install -c conda-forge/label/gcc7 glpk
If this did not work either, you have to install the GLPK solver manually.
for Linux you can find the GLPK Solver and the installation instructions at this link
for Windows you can find the exe files and the installation instructions under this link. You must then set the environment variables
In both cases it is necessary to extend the environment variable PATH so that the HotmapsDispatchApplication can access the GLPK solver.
For Windows open the AnacondaPrompt and type the flowing command
rundll32.exe sysdm.cpl,EditEnvironmentVariables
Now a new window open (Fig. 1.13) , enter threre the path to the w64 folder of the solver, depending on where you unpacked the zip-file, in this example the w64 folder was extracted in C:\glpk-4.65\w64
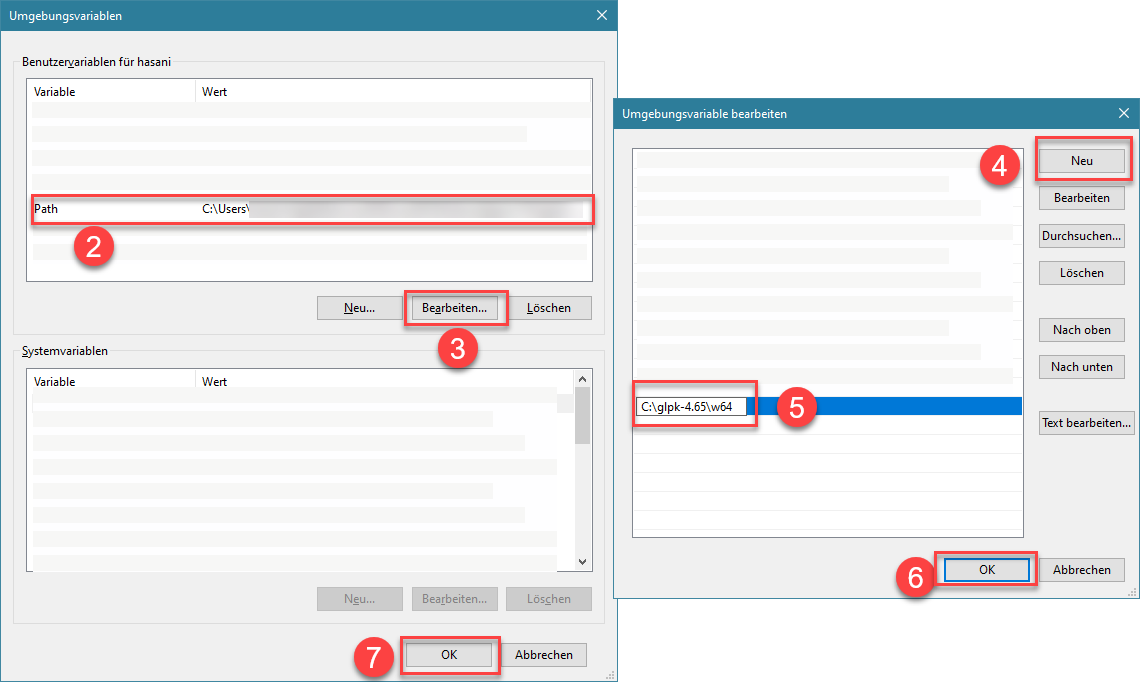
Fig. 1.13 Setting Path Environment Variable in
For Linux you have to modify the .bashrc file. Add export PATH="${PATH}:${glpk_installation_folder_where_glpsol_is_located}" to end of the file. See in the gurobi example in Section 1.2.2.2)
1.2.2. Gurobi
GUROBI has a better performance but is a commercial software, But academic licenses are available for universities and research institutions.
If you want to install the Gurobi Solver go to the webpage of Gurobi and create an account and login (point a in Fig. 1.14) and go to Downloads &Licenses (point b in Fig. 1.14) and then click on Gurobi Optimizer (point c in Fig. 1.14)
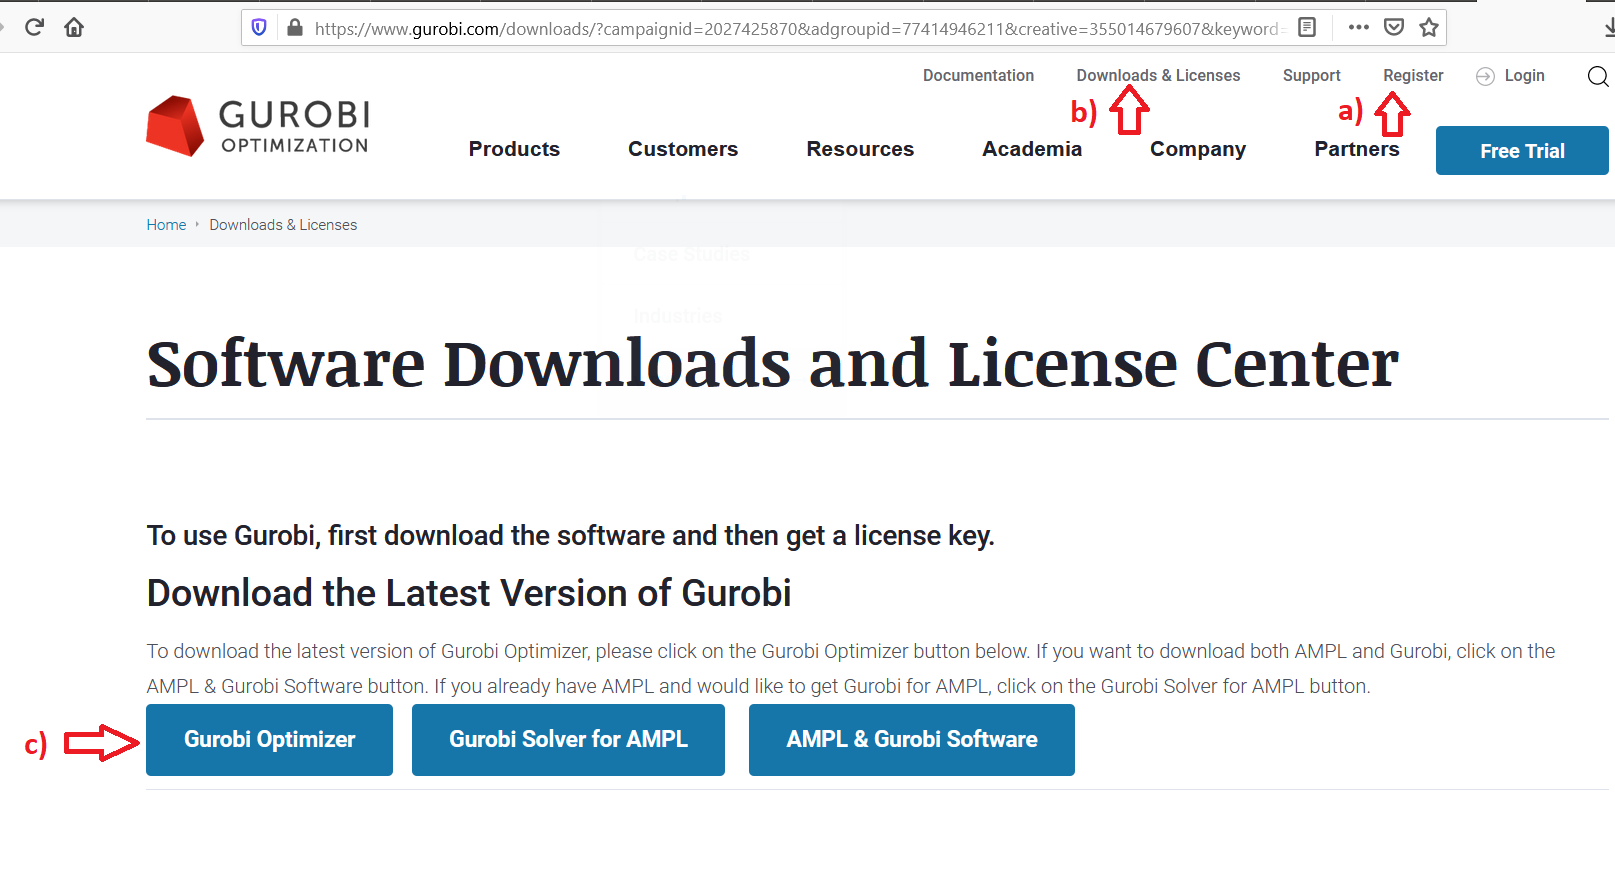
Fig. 1.14 Gurobi Webpage
Click on the button I Accept the End User License Agreement (Fig. 1.15) and choose the latest version of Gurobi (Fig. 1.16)

Fig. 1.15 Gurobi Optimizer Download
1.2.2.1. Windows
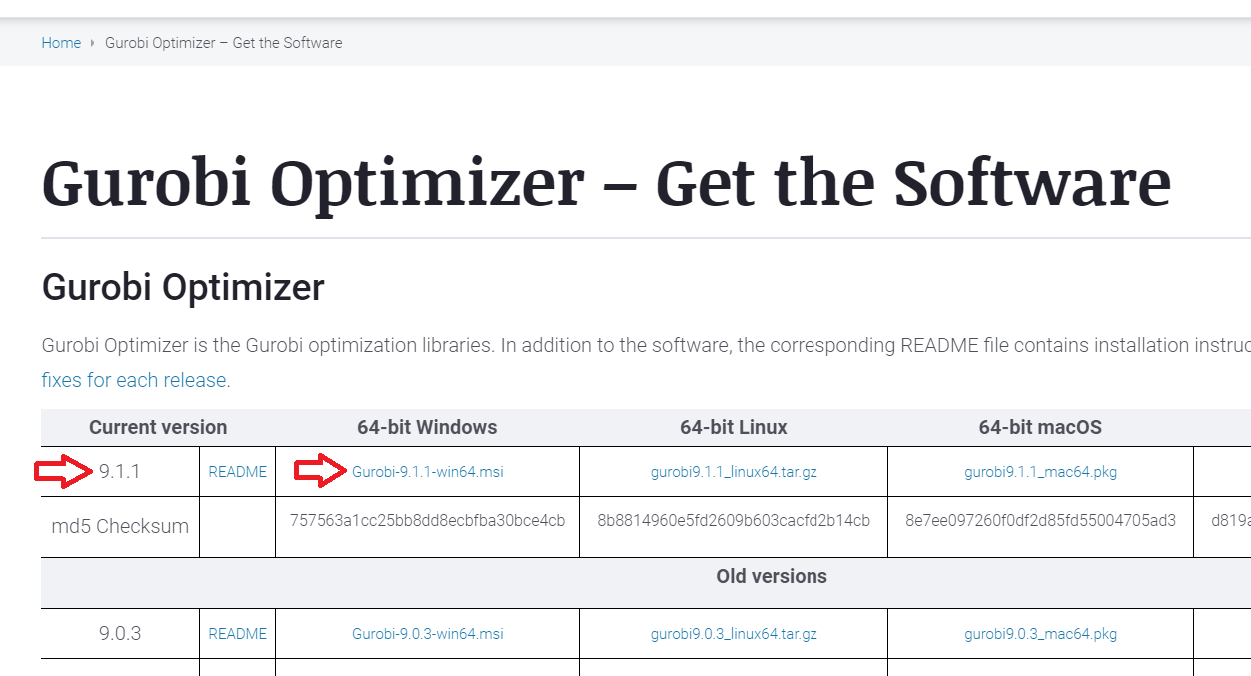
Fig. 1.16 Gurobi Optimizer Download - Latest version
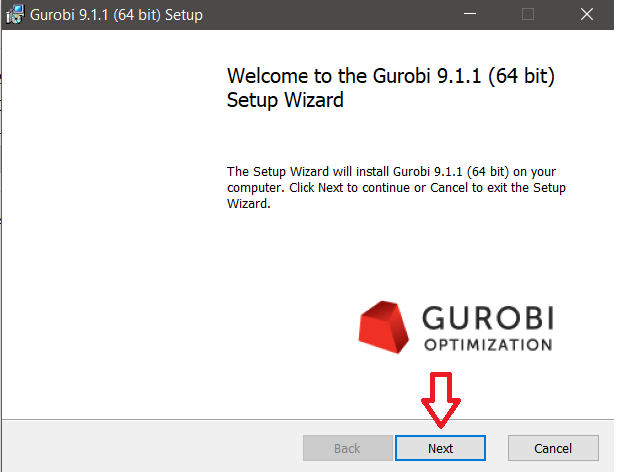
Fig. 1.17 Gurobi Installation Process - step one

Fig. 1.18 Gurobi Installation Process - step two
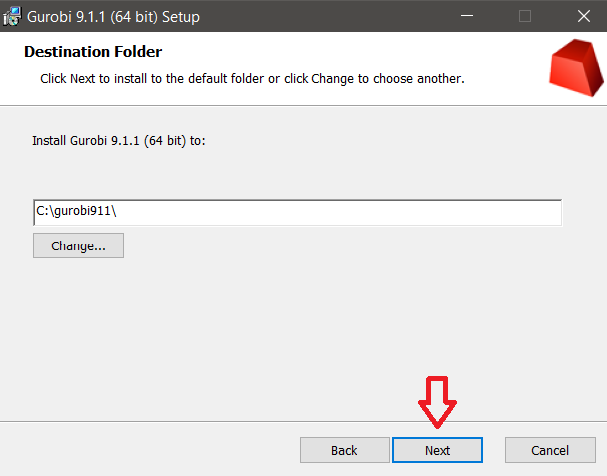
Fig. 1.19 Gurobi Installation Process - step three
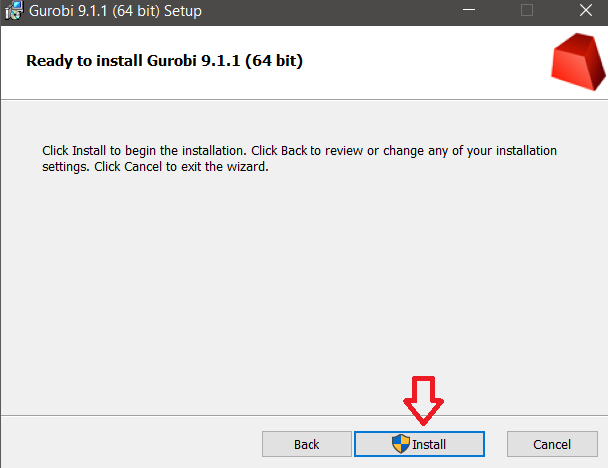
Fig. 1.20 Gurobi Installation Process - step four
Fig. 1.21 Gurobi Installation Process - step five
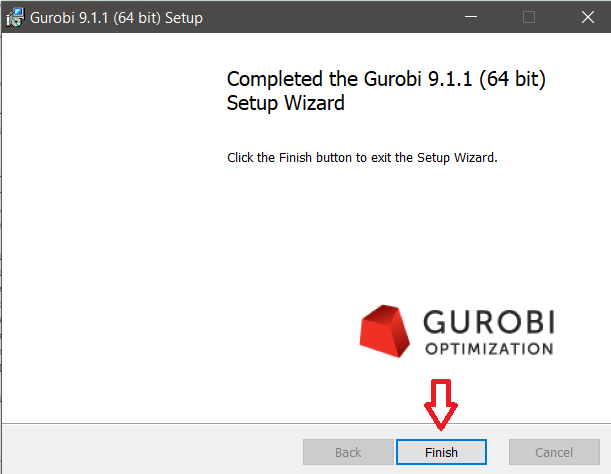
Fig. 1.22 Gurobi Installation Process - step six
Then you have to restart your computer so that Gurobi can be installed properly (Fig. 1.23)
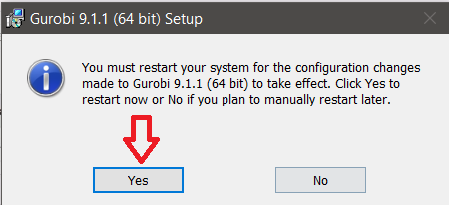
Fig. 1.23 Gurobi Installation Process - step seven
1.2.2.2. Linux
Copy the link of the recent gurobi opimizer for linux from here and use for example the
wgetcommand to download the files for the Gurobi opimizer.
wget https://packages.gurobi.com/9.1/gurobi9.1.2_linux64.tar.gz

Fig. 1.24 Download the Gurobi Opimizer
Unpack the files into a directory of your choice. I will use
~/myAppsas my destination directory.
tar -xzf gurobi9.1.2_linux64.tar.gz -C ~/myApps

Fig. 1.25 Extract Gurobi optimizer to installation directory
The Gurobi Optimizer makes use of several executable files. In order to allow these files to be found when needed, you will have to modify a few environment variables:
GUROBI_HOMEshould point to your<installdir>/gurobi912/linux64.PATHshould be extended to include<installdir>/gurobi912/linux64/bin.LD_LIBRARY_PATHshould be extended to include<installdir>/gurobi912/linux64/lib.
Users of the
bashshell should add the following lines to their.bashrcfiles:Note
These paths should be adjusted to reflect your chosen installation directory. In this case it’s ~/myApps
Open the .bashrc file from your home directory
nano ~/.bashrc

:name: Gurobi3_linux
Open the .bashrc file
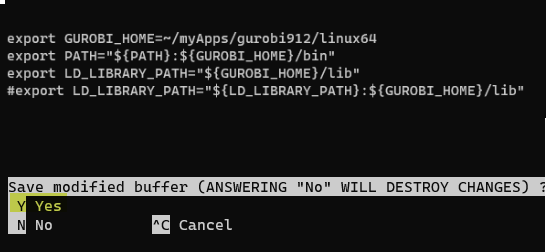
Use your arrow keys and go to the buttom of the file and copy paste the below lines.
export GUROBI_HOME=~/myApps/gurobi912/linux64
export PATH=”\({PATH}:\){GUROBI_HOME}/bin” export LD_LIBRARY_PATH=”\({GUROBI_HOME}/lib" export LD_LIBRARY_PATH="\){LD_LIBRARY_PATH}:${GUROBI_HOME}/lib”
```{figure} images/bashrc_gurobi1.PNG
:height: 850px
:name: Gurobi4_linux

Export the system path variables to get access to gurobi
Then press ‘CTRL+X’
:name: Gurobi5_linux
Save the changes in .bashrc
Press ‘enter’
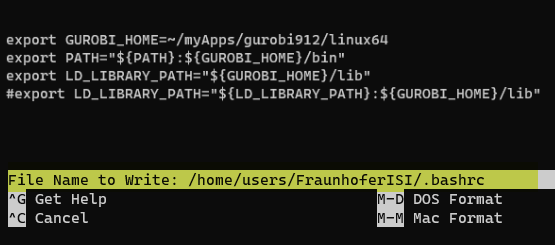
Fig. 1.26 Save the changes in .bashrc
Close your current terminal window and open a new one after you have made these changes in order to pick up the new settings.
Type then
gurobi_clin your terminal. If you get a message like Fig. 1.27, then you have successfully installed the Gurobi optimizer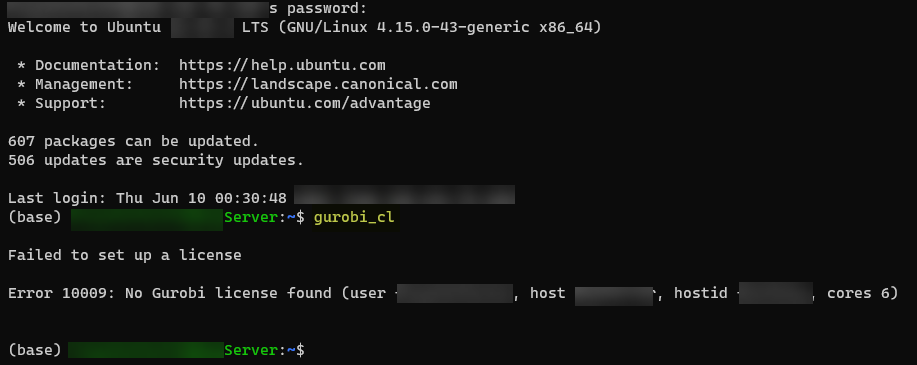
Fig. 1.27 Test if Gurobi optimizer is installed
1.2.2.3. Set up a Gurobi license
After installation, you go to the Gurpobi Webpage again, click Downloads & Licenses (point a in Fig. 1.28), then Your Gurobi Licenses (point b in Fig. 1.28). There you can find your licenses, click on the License ID (point c in Fig. 1.28)
If you want to request an academic license click here
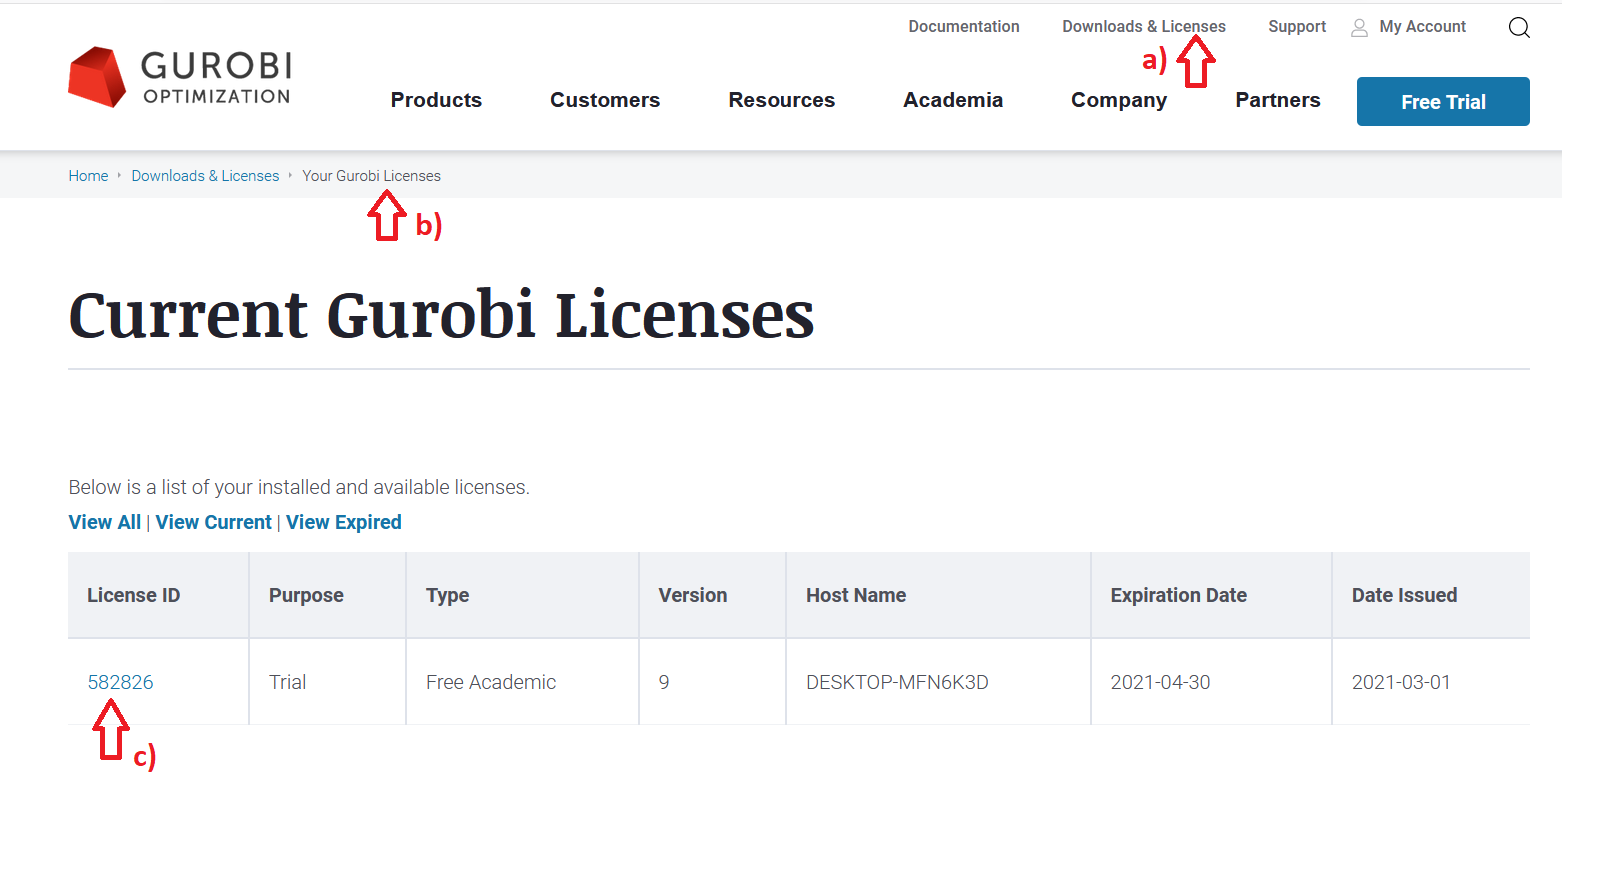
Fig. 1.28 Gurobi Installation Process - step eight
At the bottom of the page there is a key for installation. Copy the whole line and enter it in your Anaconda Prompt or in your Linux shell. Then hit ‘enter’
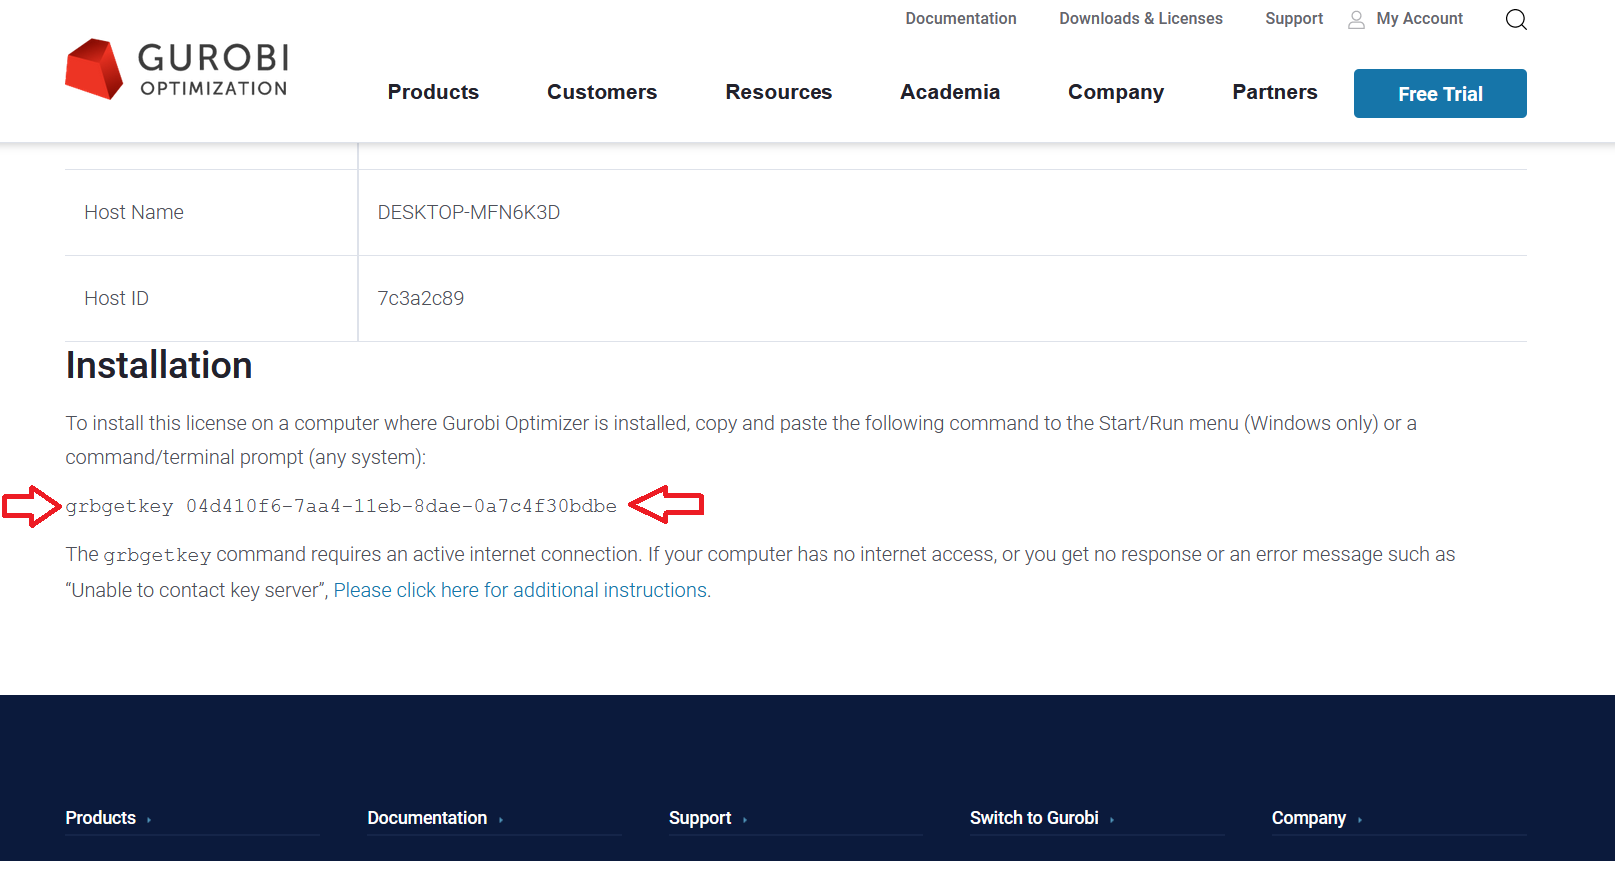
Fig. 1.29 Gurobi Installation Process - step nine
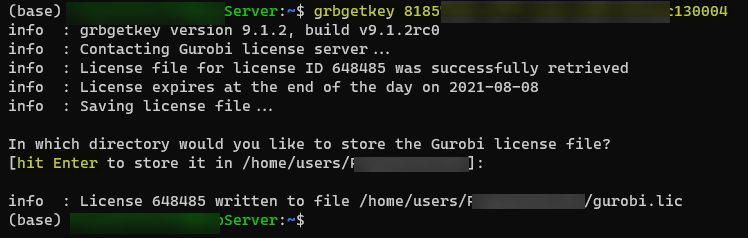
Fig. 1.30 Gurobi Installation Process - step nine
Test if the license worked by typing
guroib_clin your Anaconda Prompt or in your Linux shell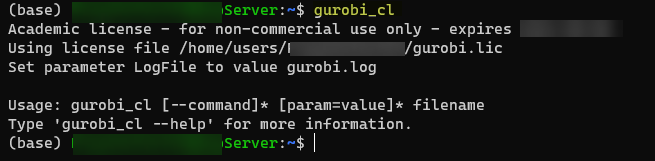
Fig. 1.31 Test Gurobi with license in Linux
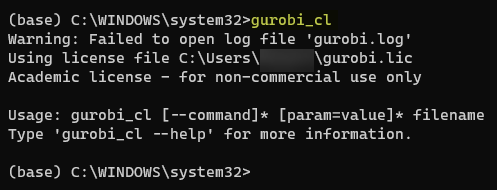
Fig. 1.32 Test Gurobi with license in Windows
1.3. Install HotmapsDispatch Application
install a python environment (see Section 1)
Download the repository and save and unzip the content into your desired location
open the AnacondaPrompt in that location and type following commands
a.
conda env create -f environment.ymlb.
conda activate hotmapsDispatchc. Start the application
python -m appfor the GUROBI solver or if you want to use the GLPK solverpython -m app --s glpk
Warning
Never close the Anaconda Promt during installation process until it is finished!
1.4. Start HotmapsDispatch Application
1.4.1. Normal Interface
To Start the tool after installation (Section 1.3) open the AnacondaPrompt and type following commands:
activate your environment with
conda activate hotmapsDispatch
navigate to the location you unzip the tool by typing
cd path2folder
type
python -m appfor the GUROBI solver or if you want to use the GLPK solverpython -m app --s glpkAfter that your default browser should open and the web user interface will show upWarning
If you are working on an operating system without a graphical user interface, you must also set the flag
openbrowserto False, otherwise the program will try to open a browser and this can lead to an error. In addition, you can specify which port should be opened with the paramterport. In Linux you can also choose if you like to start a multiprocess so that multiple instances can be open at the same time, with thenumprocyou can specify the number of cores that should be used, 0 means that the application decides how many cpu cores are used depending on how many people acces the web user interface An example is the following command that opens a port at 1233, use only one core, use the GUROBI Solver and do nott open the browser automaticallypython -m app --solver gurobi --port 1234 --openbrowser False --numproc 1
1.4.2. Headless Interface (remote server)
If you have access to a powerful simulation machine, it is very obvious that you want to install and use the HotmapsDispatch model there. However, most of these machines are remote, do not have a graphical user interface and the rights to such machines are usually restricted. In order to access the web interface of the model without granting special rights, it is best to establish a tunnel with the help of which you can then work from your local machine and are able to use the web interface of the model.
First you install (Section 1.3) and then start the model on your remote machine as described above in Section 1.4.1.
Then you have to create a tunnel to your remote machine. In Windows you can use the Windows Terminal (Download in Microsoft Store or GitHub) or you can use Putty to establish the tunnel.
1.4.2.1. Windows Terminal / Linux Terminal
If you are using the Microsoft Terminal or the Linux Terminal, you can use the following command to establish a ssh tunnel. Enter the following command from your local machine that you want to connect to the remote machine that has the application run.
ssh -N -f -L local_port:localhost:remote_port username@serverIP
name |
meaning |
|---|---|
|
this is the port of your local machine (if you use for example |
|
this is the port of the hotmapsDispatch application at your remote machine. You can change the port with the |
|
username of the remote machine |
|
(IP)-Adress of the remote machine |
1.4.2.2. Putty
If you use Putty you have to make the settings as shown in the Fig. 1.33 in your local machine. See Table 1.1 for the used parameters.

Fig. 1.33 Putty settings for ssh tunnel
Warning
Do not close the window (Microsft Terminal Tab,Linux Terminal or Putty) otherwise the tunnel connection will be interrupted and you will no longer be able to access the web user interface.
Pay attention
If the internet connection is interrupted, the tunnel is also interrupted. When you reconnect, a new session will be accessed and your work will be lost (also during a refresh of the page). To mitigate this risk donwload your work in frequent periods . In case of an interruption you can contiune from the latest state you downloaded before the disconnection or refresh.